Most people rig a travel rod backwards. They buy the combo because it fits in a duffel, spool whatever line is already in the drawer, then wonder why the whole thing casts like a wet noodle by the third day of a trip.
I've been rigging rods for other people for 24 years, the last stretch of it from behind the counter of my tackle shop in Destin after my knees retired me from full-time charter work. A travel fishing rod setup is not automatically a compromise. It's a different set of tradeoffs, and the tradeoffs are knowable. You give up some backbone and some guide quality in exchange for a rod that is in the truck when you need it, instead of at home in the garage.
Here is the order I rig one in, the parts that actually matter, and the point where building your own starts to make sense.
Why you should trust me
I've spooled more line than most factories. Every rod that comes through the shop gets logged with its action curve, a backbone test against a 40 pound drag, and a casting pass from both a beginner and somebody who has been throwing a spinner for 30 years. If it can't survive a full season of real fishing, I don't hand it to a paying client, and I don't write about it.
My grandfather caught more fish on a cane pole than most people will catch on graphite, and that lesson stuck with me: the rod is a tool and the fish is the review. Action is everything. Power ratings are mostly marketing. How a blank loads and unloads is engineering, and you can feel the difference on the first cast.
What I won't do is pretend a pack rod is a tournament stick. It isn't. It's a tool for a specific job.
How I picked and how I tested
This article covers two things: a packable spinning combo to start from, and a book that teaches you to build the rod you actually want. I picked the combo on the criteria I use in the shop. Does the reel seat lock down without wobble? Are the guides smooth enough to run a cotton swab down without snagging? Does the rod load through the middle instead of folding at the tip?
I picked the book because rod building is one of the few skills where a written sequence beats a video. You need to be able to flip back three pages when your guide spacing doesn't look right, and you need the reference in front of you while your hands are covered in epoxy.
Anything I recommend has to survive a full season on the water, not a wiggle test in a parking lot. That's the standard here too.
What a travel setup has to do before you buy anything
Answer these three questions honestly before you spend a dollar.
Where does it actually live? If the rod rides in a backpack, a four-piece or telescopic design wins. If it rides in a truck bed, buy a two-piece and stop pretending.
What lure weight are you throwing? A rod rated for one eighth to three eighths of an ounce will not throw a half ounce spoon, no matter how hard you load it. Match the rating to the box you carry.
What fish are you actually catching? Most travel fishing happens on vacation, which means schoolie bass, snook, speckled trout, mangrove snapper, panfish. Medium power covers nearly all of it. Heavy power is for the fish in the catalog photo.
Get those three right and the rest is rigging.
The gear that makes the setup work
Two items carry this article. One is the rod you can throw in a bag today. The other is the reference that turns rod building from a mystery into a weekend project.
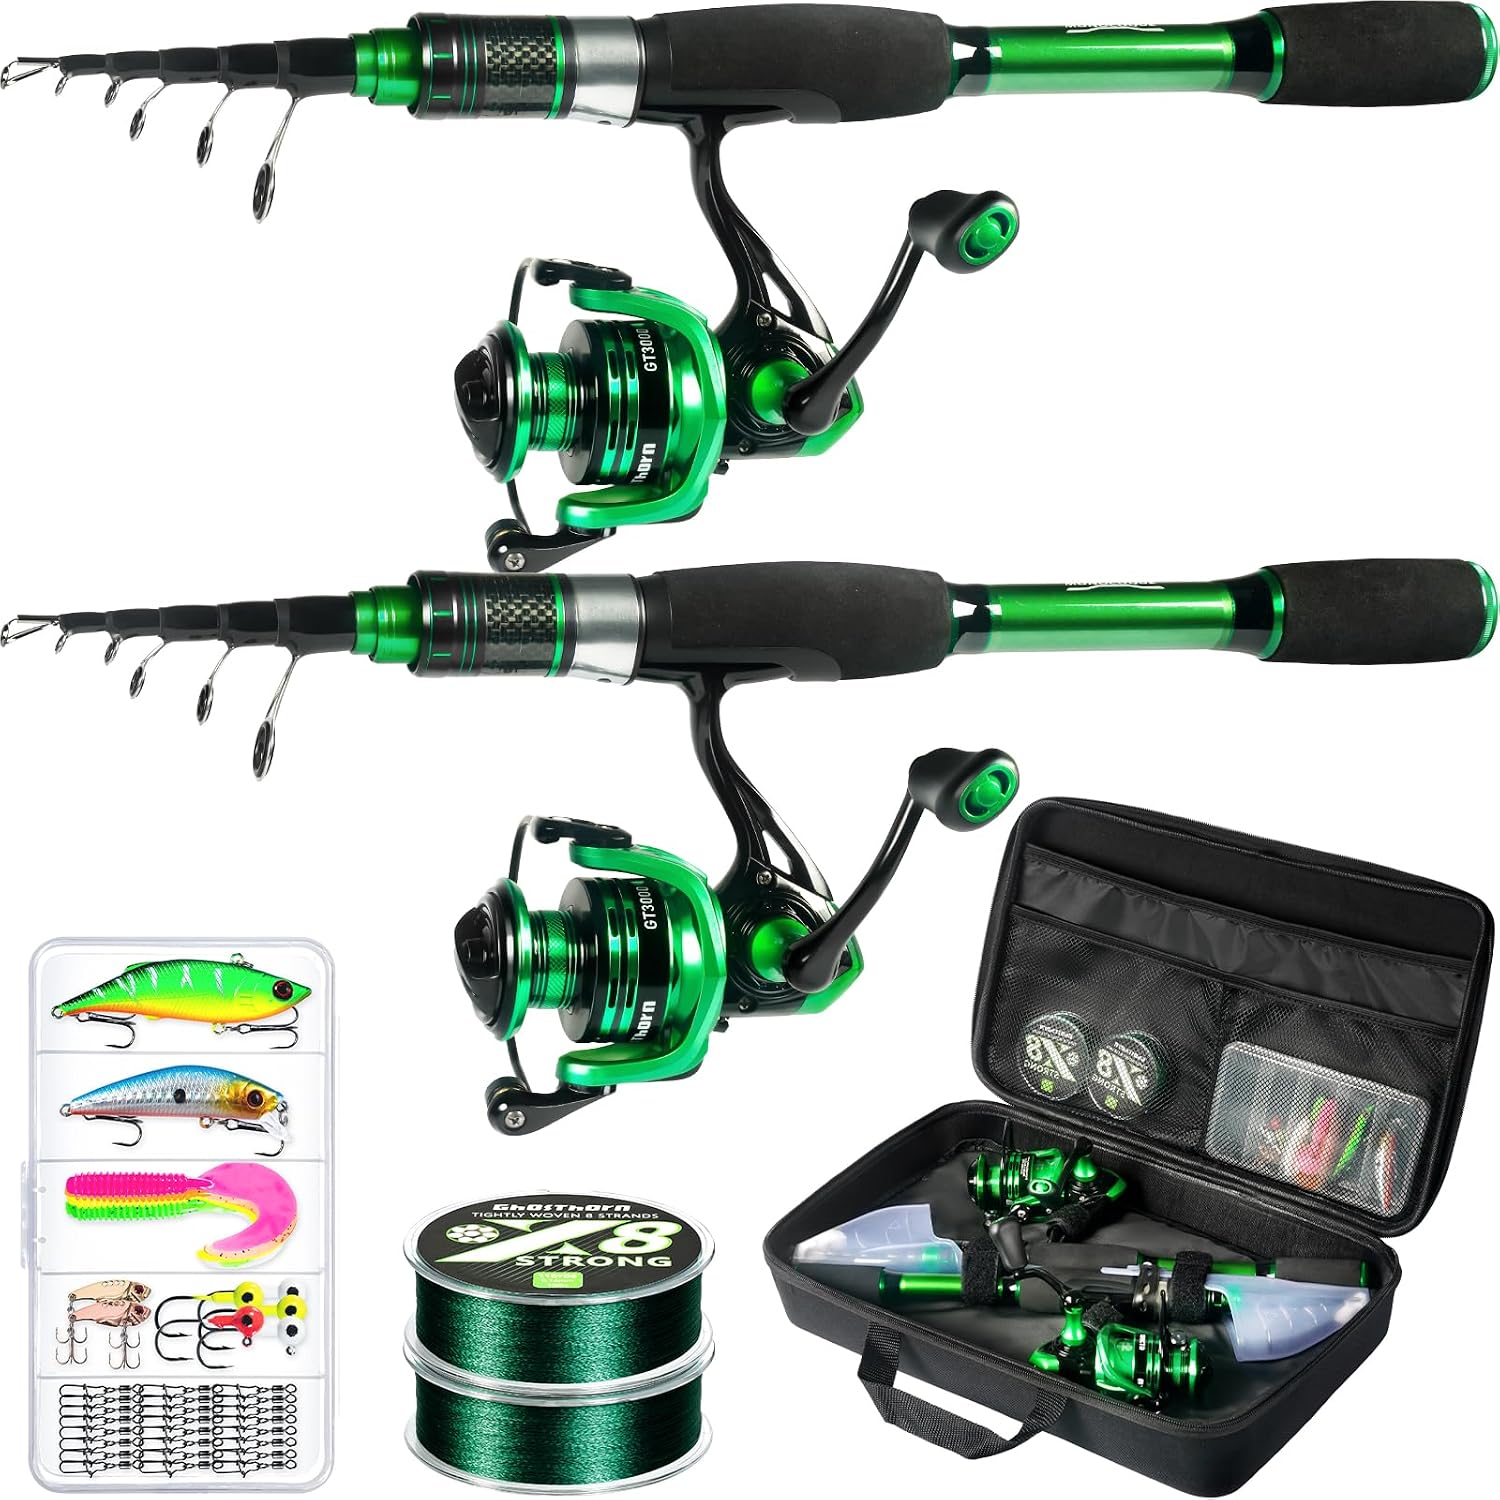
Travel pick: Ghosthorn Telescopic Fishing Rod and Reel Combo,Spinning Travel Kit
 Visit on Amazon →
This is the shape of a kit I want for travel: a telescopic spinning rod paired with a reel, sold as a set so you aren't hunting for a matching reel at 9 p.m. the night before a flight. That matters more than people admit. A combo means the reel foot and the reel seat were chosen to work together, and on a telescopic rod the reel seat is the joint that gets abused the most.
Telescopic rods live and die on their ferrules. Every extra joint is a place where the blank can hinge instead of bending, so the rod needs to seat firmly at every section. Extend it fully, twist each section to seat it, then sight down the rod from the butt and confirm the guides line up in a straight line. If they spiral, the line will slap the blank on the cast and your distance dies.
Check current Amazon price before you commit, because travel combos move around a lot in price depending on the season.
Flaws but not dealbreakers: Telescopic rods carry more joints than a one-piece, so you lose a little backbone in the mid section. The reel in a combo kit is usually the value end of the range, and the guides are not going to be the premium rings I'd put on a custom build. That's the tradeoff you're buying, and it's a fair one for a rod that fits in a carry-on.
Anyone who fishes a handful of trips a year and wants one bag that covers all of them should start here.
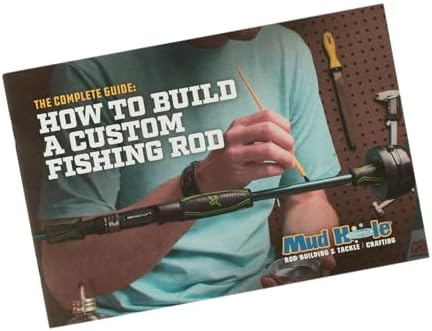
Reference pick: Rod Building 101: The Complete Guide How to Build a Custom Fishing Rod
 Visit on Amazon →
If the combo above is the entry point, this is the exit ramp into doing it yourself. Rod building is not a mysterious craft, it is a sequence: pick the blank, lay out the guide spacing, wrap the guides, finish the wraps, and test the rod before you ever fish it. What makes it hard is that a mistake in the sequence shows up two steps later, and you need the order written down in front of you.
That's what this book is for. It walks the process from blank selection through finishing, which is exactly the order you need when you're standing at a bench with a spool of thread in one hand and no idea how much tension to run.
Check current Amazon price, then compare it against the cost of one ruined blank. The math is not close.
Flaws but not dealbreakers: A book cannot feel your thread tension or tell you your epoxy is mixed wrong. You will still ruin your first wrap. That is the tuition, and it is cheaper than the alternative.
Anyone who has bought three rods trying to find the right action, and failed all three times, will get the most out of this.
The setup, step by step
Now the actual rigging. This order works on any spinning outfit, telescopic or not.
Step one: Seat every section. Extend the rod from the butt up, not the tip down, and twist each section firmly into the one below it. Telescopic rods seat by friction, so if you can feel a wobble at a joint, it isn't seated. Then sight down the blank and straighten the guides.
Step two: Mount the reel and check for wobble. Tighten the reel seat down and grab the reel. Push it side to side and up and down. Any movement here means a lost fish later, because the reel will shift under load and your drag numbers go out the window. If the seat is loose, a wrap of tape on the reel foot fixes it.
Step three: Match the line to the rod, not the reel. Use the rod's printed line rating. Overloading a light rod with heavy braid is the fastest way to break a tip on a hookset. For most travel spinning, a braid main line in the rod's mid range, with a fluorocarbon leader, is the right call.
Step four: Spool it with tension. Run the line through a phone book or a gloved hand so it goes on tight and even. Stop about an eighth of an inch from the spool lip. An overfilled spool throws loops, and an underfilled spool costs you distance on every cast.
Step five: Set the drag with a scale. Clip a cheap fish scale to the line, pull until the drag slips, and set it at roughly 25 to 30 percent of your line's breaking strength. Do this before you're on the water, not while a fish is running. On a pack rod, the drag setting is doing the work your backbone can't.
Step six: Tie the leader connection properly. Braid to leader with a proper knot, tied tight, trimmed close. Test it by pulling hard against a glove. A knot that slips on the couch was never going to hold on a dock.
Step seven: Check the guides. Run a cotton swab around the inside of every guide ring. If it catches fibers, the ring is damaged or grooved and it will shred your line. Cheap guides eat line, and that is not a theory, it's a receipt. On a telescopic rod, check the guides every trip, because they take more abuse in transit than anything else on the rod.
Step eight: Rinse and dry. After saltwater, rinse the whole rod with fresh water, wipe it down, and let it dry fully before you collapse it. Collapsing a wet rod traps salt in the ferrules, and that is where corrosion starts. Reel seats and guides that corrode are the number one complaint I hear about "saltwater ready" rods that were never actually built for salt.
Do those eight steps and a modest pack rod will out-fish an expensive rod that was never set up right.
Where building your own fits in
Here's the honest answer. Build your own when you know exactly what you want and nobody sells it.
That point arrives at different times for different anglers. If you've bought three off-the-shelf rods looking for a specific action and struck out each time, you're there. If you want a specific guide layout for a specific reel and line, you're there. If you just want a rod that catches fish on a Saturday, you are not there yet, and there's no shame in that.
The reason to build is control. You choose the blank, so you choose the action curve. You choose the guides, so you choose what your line runs through. You choose the reel seat, so you choose whether it wobbles. Those are the three things that decide whether a rod fishes well, and on a factory rod you're accepting someone else's answer on all three.
Start with the book, build one rod, and fish it for a full season before you build a second. Most first builds are a lesson, not a masterpiece. That's normal.
What it all costs
I don't quote prices in this shop because they move, and a number that was right last month is wrong today. Check the links above for current pricing on both items.
What I can tell you is how the money splits. A travel combo is one purchase that gets you on the water this weekend. A rod building book is a small purchase that leads to blanks, guides, thread, epoxy, a drying motor, and a lot of trial and error. The second path is more expensive in total and cheaper per rod once you're building your third.
For most people, the right sequence is combo first, book second, and a custom build only when the combo has taught you what you actually want.
Two caveats before you spend anything
First, do not buy a pack rod expecting one-piece performance. It doesn't exist. You're trading backbone and guide quality for portability, and that trade is worth it only if portability is the actual problem you're solving.
Second, a rod that costs $300 but needs $100 of upgrades is a $200 rod with good paint. Look at the reel seat, the guides, and the action curve. Ignore everything else on the box.
That's the job. Rig it in the right order, fish it hard, and let the fish tell you whether you got it right.